Showing posts with label sugar free. Show all posts

Monday, November 10, 2014

PALEO PUMPKIN PIE! GF, SCD & Paleo!

Hey Happy Tummies!

ANNOUNCEMENT: 2 ½ WEEKS UNTIL THANKSGIVING!!


Whaaaaaat??!! 

I. Know. Craaaazy, huh? Time is literally flying by. 

Have you started making plans for Thanksgiving yet? I am going home to be with family for turkey day. I'm super excited. Bought my plane tickets and everything! :D

Well, as promised, I'm sharing a gourd-geous dessert recipe with you all today:) ((See what I did there?!)) :) hehe

I’ve got a show stopper here folks. PALEO PUMPKIN PIE!!


It’s Gluten Free. It’s Dairy Free. It’s Specific Carb Diet Friendly. It’s Paleo. It’s fan-frickin-tastic.


I made this for Thanksgiving last year and it was an absolute hit. It brought the house down!


Filling: (Makes 2 pies)

1/3 cup raw cashews
2 cups pumpkin or butternut squash puree
2 tsp cinnamon
¼ tsp ground clove
1/8 tsp ground ginger
4 droppers full of pure liquid stevia, alcohol free (SCD omit, and use an extra Tbsp honey instead)
2 healthy pinches of salt
2 Tbsp honey
3 egg whites
12 oz coconut milk – I used light

CRUST: (Makes 2 crusts)
16 dates
1 cup cashews
1 cup almonds
4 healthy pinches of salt

Preheat oven to 400. Cut your squash or pumpkin in half length-wise, scoop out all the seeds and place cut-side-down on a tin foil-lined, olive oil-sprayed baking sheet. Bake for about 45 minutes, until tender. Take it out and let cool for about 7-10 minutes, until you are able to touch it. When you take it out, increase the oven temp to 425.


Meanwhile, make your crust. Pit and chop your dates into small pieces to help out the food processor. Then, add all nuts and salt to the food processor and process until they have broken down into small bits. Then, add your dates and process until it forms the consistency of chunky, wet, sand. You’ll need to scrape the sides once or twice. Spray two, 9-inch pie pans with cooking spray and divide the crust evenly between the two. Then, with your fingers, press the crust together along the bottom and up the sides. The dates will hold it together. Set aside.


Reassemble your food processor. You will now make the rest of the pie.

Place your cashews in the food processor and process until it forms a fine dust. Then, scoop out the flesh of the cooled squash and add it to the food processor. Process until smooth, scraping the sides several times. Then, add your stevia, spices, honey, and egg whites. Process to combine. Then, in 2 batches, add your coconut milk and slowly pulse to combine, so as not to splatter. The batter should be a thick, creamy liquid.


Divide the batter evenly between the two pie shells. Place in the 425 degree oven for 15 minutes. Then, reduce the heat to 350 and bake for 40-50 minutes. When you reduce the oven to 350, plaee a tin foil “hat” around the edge of your pie, so the delicate crust doesn’t burn. It is finished when a knife or toothpick inserted in the center comes out clean. Allow to cool for 2 hours before cutting into it.


Oh. My. Gosh. You guys, I don’t mean to brag, but my dessert stole the show for Thanksgiving. ;) We had this and a store bought gluten free apple pie. Let me just tell you – we polished off my entire pie….and there was only one piece of the apple pie gone!


Everyone RAVED about it. They couldn’t believe that there was no butter or cream in it. They said it was so decadent and delicious. Everyone - GFree'rs and "omnivores" alike -- thought it was incredible. 


The flavor was warm and spicy, and the texture was so rich, luxurious and creamy. And the crust – wow: nutty, sweet, chewy, sticky! The perfect compliment to the luscious center.


These pies were like my little babiesJ Oh- just thinking about them warms my heart#proudmama haha

SO whether you use butternut squash, or pumpkin, these puppies come out fantastic!

One last thing: A tip on gourds ;)

Butternut squash can be a bit intimidating to prepare, simply because they can be tricky to prepare. But fear not friends, I'm here to break down how to break down squash in an easy and safe way!

You'll need a sharp knife -- and I suggest honing your knife's edge before hand. (It goes without saying to be careful whenever using a chef's knife)

Step One: Cut off the top and bottom of your butternut squash. 
Step Two: Cut the squash in half, (like the equator), where the thinner part meets the rounder part where the seeds are. This gives each part a solid base to stand on while you peel the skin.


Step Three: Peel the skin of each half.


Step Four: Cut the round part in half, lengthwise, and scoop out the seeds. Discard.
Step Five: Cut the remaining part in half, lengthwise. 

Now, you have manageable pieces of squash to slice and dice:) Hope that helps and makes these gourds less intimidating! 


Alright, see you guys tomorrow with a new recipe! :D

This was shared on delishknowledge's link party.

Thursday, January 2, 2014

Paleo Meringue Clouds & Almond Cookies! GF, Sugar Free, SCD, & Paleo!

Heeeeeey Party People!! :)

haha...just kidding.

How's everyone doing? Are we detoxing from the holidays? lol Again....KIDDING!!


Well, kinda. :) I know I ate lots of delicious food and had p-l-e-n-t-y of spirits over the holidays! haha

And Happy New Year!!! How did you celebrate? Did you watch the ball drop? I don't know about you, but it's just not the same without Dick Clark's Rockin' New Year's Eve.


So as promised, here are my delicious cookies! These are sinless...seriously. They're protein packed, sugar free, and insanely good.

And it's a tale of three cookies! You can make three different cookies out of the same "dough!"

My favorite, are the meringue clouds! They're made with just egg whites and honey!


Next, are my crunchy almond cookies! Again, just egg whites, almond flour, and honey!


And finally, my chewy almond cookies! Again, just egg whites, almond flour and honey!


Here's what you need: (Makes about 40 one-bite cookies)

Base:
5 Egg Whites
1/3 cup honey
1 tsp pure vanilla extract
1/4 tsp cream of tartar

Additional:
3/4 + 1 Tbsp almond flour

Optional:
1/2 tsp cinnamon

Preheat oven to 350 degrees. Put your honey and vanilla extra in a small saucepan and heat until it becomes liquidy. Careful - it bubbles up when it boils, and is molten hot!! Once it is hot, carefully pour it into a Pyrex measuring cup (with a spout so you can safely pour it into the stand mixer.)

In the stand mixer, whip your egg whites until frothy. Then, add your cream of tartar and beat for about 7 minutes on high until they form stiff peaks. After about 4-5 minutes and they have tripled in size, slowly pour in the hot honey mixture. Let the stand mixer run for about 1 1/2 more minutes.

Meanwhile, prepare three baking sheets by lining them with parchment paper.

This is where you have the different options.

MERINGUE CLOUDS:

Spoon about 2 Tbsp worth of the mixture onto your baking sheet. Bake for about 15 minutes, until the tops begin to turn golden brown. Then, turn off the oven, and allow them to cool/dry out in the oven with the door closed for about 3-4 hours. They will be wonderfully chewy -- like pillows.

ALMOND COOKIES

To the honey/egg white mixture, gently fold in your almond flour and cinnamon, so as not to deflate the egg whites. Spoon this mixture into a piping bag, or a gallon ziplock bag with the bottom corner snipped off. Then, squeeze about 1 Tbsp of this mixture onto the baking sheets. Bake for 15 minutes. For Chewy Almond Cookies, remove immediately from oven.

For Crunchy Almond Cookies, bake for 15 minutes, and then turn the oven off and allow to dry in the oven for 2 hours.

These cookies were seriously amazing. When you're on the Specific Carb Diet, or gluten free for that matter, the holidays can be tough because there are all these delectable looking treats lying around, and you can't have any! So, I whipped these up and I was a happy camper all through the weekend.

The Meringue Clouds were light as air and chewy. These were my mom's favorite ones. And by allowing them to dry out in the oven, bits of them become a little crunchy like a meringue.


The Crunchy Almond Cookies were my favorite. They had the consistency of a delicate graham cracker with the honey and subtly note of cinnamon.


 They were crunchy and wonderfully sweet.


Finally, the Chewy Almond Cookies were melt-in-you-mouth good. They were chewy in the center with slightly crisp golden brown edges. Careful though - they can leave your fingers a little sticky!


What a treat for a grain/sugar free gal. These cookies were a life saver. They're gluten free, grain free, dairy free, sugar free, SCD friendly, and Paleo! (Say that 5x fast!!)


For dessert on Christmas, we had berries with cream. I made coconut cream for mine by reducing a can of coconut milk on the stove for about 30 minutes with 3 tsp honey. I then topped it with crumbled crunchy almond cookies and a meringue cloud. Guiltless and positively delicious!

I may just have to make these "bad boys" again while I'm home and have an stand mixer at my disposal!! :D

Happy New Year!!!!!!


Want more GFHT?  You can now get my e-cookbook, The Best of GlutenFreeHappyTummy for only $2.99 on Amazon!

Sunday, December 8, 2013

PALEO PUMPKIN PIE!!!!!


Hey guys!!

I hope everyone had a fabulous fabulous Thanksgiving! I know we did! I was in Cincinnati for the weekend and gosh, it was just so wonderful to be with family! I have so much to be thankful for. I’m healthy, have an amazing family and wonderful friends. There’s not a day that goes by that I don’t count those blessings. But it’s nice to have a day to devote to just being thankfulJ


We traveled to Indianapolis to be with my brother, his wife, and their sweet little 4-month-old daughter 
for Thanksgiving!


Well, since we were traveling, and they have their hands full with a new baby, we did something crazy. We packed the gluten-free Thanksgiving in the car and had an INSTANT THANKSGIVING!!


Yep. Allllllll day on Wednesday, my mom and I cooked all the dishes (all gluten free, might I add) and packed them up into Tupperware containers (even the turkey!). We cooked from 11am to 11pm. Then bright and early on Thursday morning, we piled it carefully into the car and drove to my brother’s house! INSTANT THANKSGIVING!


It was so fun. And crazy. Actually, rather insane. But we did it and it was awesome to be together.


SO for the meal, it was all gluten free. We had turkey, stuffing, green bean casserole, mashed potatoes, sweet potatoes, salad, and pies! 


Unfortunately, just because things are gluten free doesn’t mean they’re Specific Carb Diet Friendly- or vegan, for that matter.  All SCD is gluten free, but not all gluten free is SCD --- (get it? I know, It’s confusing.)So—I made myself a meal, and made enough for everyone to have someJ


For the Specific Carb Diet/Gluten Free/Vegan/Paleo meal, I made Roasted Beet and Brussels Stuffed Acorn Squash with Pistachios and Roasted Apples. Oh. My. Gosh. WOW! That post is coming soon.


But for dessert…….I’ve got a show stopper here folks. Paleo Pumpkin Pie!!


It’s Gluten Free. It’s Dairy Free. It’s Specific Carb Diet Friendly. It’s Paleo. It’s fan-frickin-tastic.


Filling: (Makes 2 pies)

1/3 cup raw cashews
2 cups pumpkin or butternut squash puree
2 tsp cinnamon
¼ tsp ground clove
1/8 tsp ground ginger
4 droppers full of pure liquid stevia, alcohol free (SCD omit, and use an extra Tbsp honey instead)
2 healthy pinches of salt
2 Tbsp honey
3 egg whites
12 oz coconut milk – I used light

CRUST: (Makes 2 crusts)
16 dates
1 cup cashews
1 cup almonds
4 healthy pinches of salt

Preheat oven to 400. Cut your squash or pumpkin in half length-wise, scoop out all the seeds and place cut-side-down on a tin foil-lined, olive oil-sprayed baking sheet. Bake for about 45 minutes, until tender. Take it out and let cool for about 7-10 minutes, until you are able to touch it. When you take it out, increase the oven temp to 425.


Meanwhile, make your crust. Pit and chop your dates into small pieces to help out the food processor. Then, add all nuts and salt to the food processor and process until they have broken down into small bits. Then, add your dates and process until it forms the consistency of chunky, wet, sand. You’ll need to scrape the sides once or twice. Spray two, 9-inch pie pans with cooking spray and divide the crust evenly between the two. Then, with your fingers, press the crust together along the bottom and up the sides. The dates will hold it together. Set aside.


Reassemble your food processor. You will now make the rest of the pie.

Place your cashews in the food processor and process until it forms a fine dust. Then, scoop out the flesh of the cooled squash and add it to the food processor. Process until smooth, scraping the sides several times. Then, add your stevia, spices, honey, and egg whites. Process to combine. Then, in 2 batches, add your coconut milk and slowly pulse to combine, so as not to splatter. The batter should be a thick, creamy liquid.


Divide the batter evenly between the two pie shells. Place in the 425 degree oven for 15 minutes. Then, reduce the heat to 350 and bake for 40-50 minutes. When you reduce the oven to 350, plaee a tin foil “hat” around the edge of your pie, so the delicate crust doesn’t burn. It is finished when a knife or toothpick inserted in the center comes out clean. Allow to cool for 2 hours before cutting into it.


Oh. My. Gosh. You guys, I don’t mean to brag, but my dessert stole the show for Thanksgiving. ;) We had this and a store bought gluten free apple pie. Let me just tell you – we polished off my entire pie….and there was only one piece of the apple pie gone!


Everyone RAVED about it. They couldn’t believe that there was no butter or cream in it. They said it was so decadent and delicious.


The flavor was warm and spicy, and the texture was so rich, luxurious and creamy. And the crust – wow: nutty, sweet, chewy, sticky! The perfect compliment to the luscious center.


These pies were like my little babiesJ Oh- just thinking about them warms my heartJ #proudmama

Be sure to check back next week for my mouth-watering stuffed acorn squash. Let’s just say, there were no leftovers! J Here’s a teaser:


Want more GFHT?  You can now get my e-cookbook, The Best of GlutenFreeHappyTummy for only $2.99 on Amazon!

Sunday, November 24, 2013

Butternut Squash Dessert Pudding! GF, V, SCD, BED, Paleo!


Hey Happy Tummies!

Four more sleeps until Thanksgiving!!! Wooo!

I am so excited. I've been dreaming up the Vegan/Paleo/SCD dishes I'll be making.

For the first time ever, I think it's going to be a completely gluten free thanksgiving, as the majority of my family that will be there are GF! So there will be lots to share:)

Alsooo, it's my niece's first Thanksgiving!! Lots to be thankful for:)

So today, I'm sharing a recipe that I literally cannot live without. I eat this probably 3 times a week and I'm not even joking. It is THAT good!

I've shared this recipe a long time ago, but the photo was...well...less than beautiful. Sooo, I've updated the pic and decided to share it because it would be a PERFECT side dish for thanksgiving!

What is it?


BUTTERNUT SQUASH PUDDING!

Gluten free, vegan, SCD, BED, Paleo and 100% delicious.

I like to put it in the freezer for an hour before I eat it and it is literally like ice cream. My mouth is watering just thinking about it.

This recipe has actually been a life saver for me. Lots of people ask me, after learning about my diet, "how do you stay sane? How do you do it?!" Well friends, this pudding is the answer. Being on the SCD, it's true: you can get into the mindset of feeling deprived if you dwell on all the things you CANNOT eat. But, I've found if you can find even just one thing that you REALLY enjoy, and can look forward to, you're fine. So maybe I look forward to butternut squash instead of chocolate or Reeces peanut butter cups...big whoop. It's my favorite food and helps me remain faithful to the SCD. :)

The way this recipe came to be is actually a funny story. So if you've been following my blog, you may know that I used to LOVE a recipe that was very similar to this, but made with carrots. (see below)

It was my saving grace during the Body Ecology Diet. And I pretty much ate it every other day-I'm telling you, it was that good. Well friends, I literally turned orange from eating so many carrots! It's not an urban legend, you really do turn orange!! Look how orange I was at Christmas last year!!

So my brother, being a doctor, was like, Care, you're getting a toxic dose of Vitamin A and it could be doing damage to your eyes.

Sooo, I did some research, and found that butternut squash has a lot less beta carotene (what turns into Vit A) than carrots. So, the substitution was officially made. And to be honest, I don't eat carrots anymore. Because even if I have a few baby carrots, that orange color comes back to my hands and face. The human body is crazy, huh?

So without further ado, here's my favorite food!
Here’s what you need:
1 small butternut squash: halved and roasted (or diced and steamed)
1/4 cup raw cashews
2 dropper-fulls of alcohol free, pure liquid stevia (SCD use 2 tsp honey, or more to taste)
2 tsp cinnamon
pinch of nutmeg
pinch of ground cloves
tiny pinch of sea salt
You have 2 options to prepare your squash.
Either A) Peel your squash and dice it into small cubes. In a steamer basket, steam for about 20 minutes until tender. Then, let it cool, and wring out all the excess liquid with a clean kitchen towel or paper towels. This is how I make it.
OR B) Preheat oven to 400 degrees. Carefully cut your butternut squash in half lengthwise and scoop out the seeds. Line a baking sheet with tin-foil and spray with olive oil. Spray or rub the cut-side of the halves with olive oil, and roast cut-side-down for 40 minutes.Let them cool for several minutes, and then scoop out the flesh.
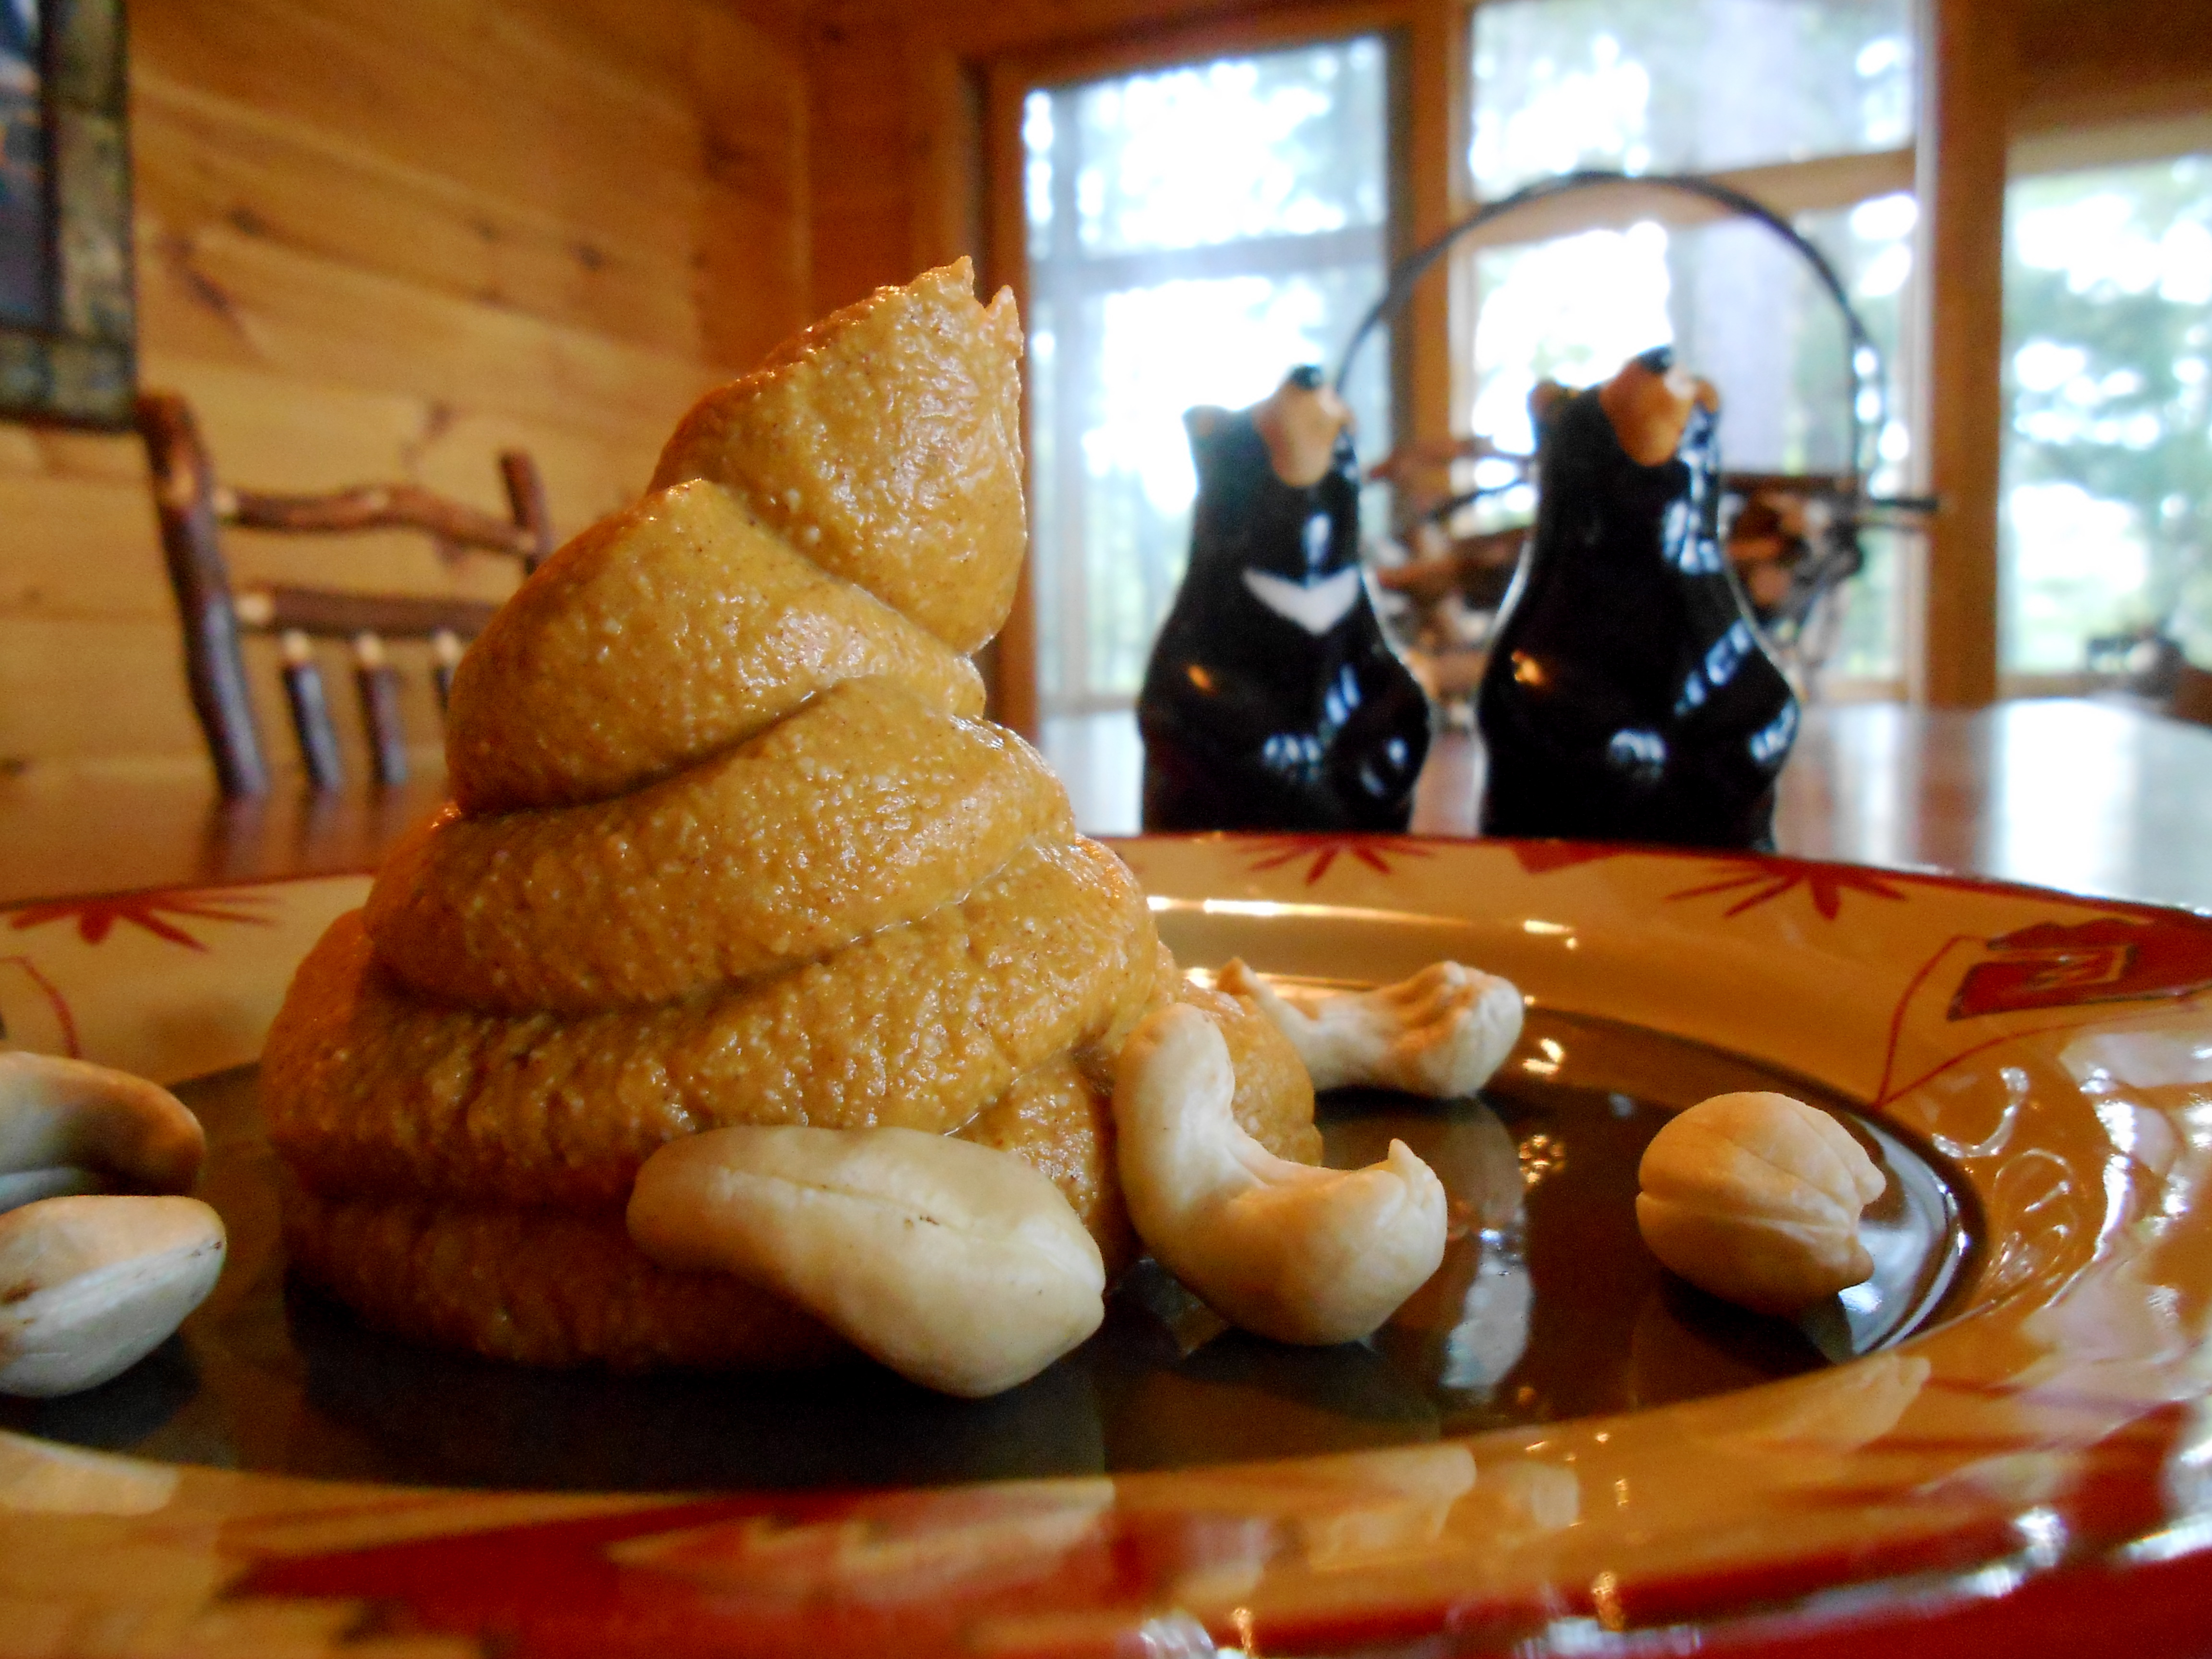
Combine the flesh in the food processor with the rest of the ingredients. Process for 2 minutes, until creamy and smooth, scraping the sides twice. Enjoy warm, or chilled in the freezer for an hour.
Oh. My. Gosh. This is sheer decadence. It is buttery smooth and down-right amazing! It seriously tastes like pumpkin pie! My parents tasted it and couldn’t believe that there wasn’t cream or butter in it!


The flavor is straight out of a Thanksgiving Yankee Candle – ok, that maybe doesn’t sound too appetizing, but the flavor brought me back to the Thanksgiving table, eating pumpkin pie with my family. The cinnamon, nutmeg and clove give it such a warm spiciness, that just travels through your senses and warms your soul. Ok, maybe a little dramatic, but it is just SO remarkable.


Finally, the texture is just rich and luxuriously creamy. I particularly enjoy it semi-frozen. It's seriously like ice cream:)
And to make it extra special for Thanksgiving, I'm going to toast a few pecans with cinnamon and honey, and sprinkle those on top:)
How's your Thanksgiving prep going?